-Key-Frame animation is using key frames much like flash software. You can selected auto key then move the key mark along the time line, them change the position of objects at different keys. The computer will then fill in the motions of movement between these keys creating a fluid animation.
-Parameter/Procedural animation is different, here you set parameters on what moves and when, this included foot the foot step animation, here you can set the amount of foot steps you would like and then auto key the inactive steps and the computer will automatically get your character doing basic walking cycles. Parameter animation is also used for fog and rain effects, these would allow you to insert set parameters such as speed and amounts.
To start my animation I created a free camera ( in the screenshot target is selected, ignore that), I chose a free camera because i have more freedom on the movement and focus than that of a target camera. I originally had a camera following a spline but due to turning issues I had to go with key frame animation on a free camera.

I then activated auto key and dragged over to a frame about the third of the way across the time line, i moved the camera above my castle and point it down wards and spun it 90 degrees. I then dragged across the time line again and moved the camera to the other side of the castle and spun it another 90 degrees so it was in up right positions.

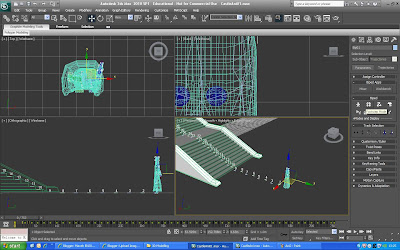
I then moved on to making my character walk, this was using parameter/procedural animation. I selected my biped and went to the animation tab, then i selected "footstep mode".

After selecting "footstep mode" a new set of options appeared from these options I selected "create multiple footsteps..."

Pressing "create multiple footsteps..." opened a new window with foot step parameters, here you could change the amount of foot steps, stride length and many other variables. I made 50 foot steps then pressed ok.

After creating these foot steps I clicked "create keys for inactive footsteps" this finished the walking animation and created the key frames for all the step in the walking cycle.

I positioned each foot step on the stairs so my character would walk up the stairs and not through it, I used the select and move tool to put each step in the right position.

I then created a sky box and lighting so the rendered video would look a lot better and wouldn't have black backgrounds. To make the sky box i created half a sphere then deleted the bottom polygons leave the curved semi-sphere, i selected the semi-sphere and flipped it inside out so that my textures would appear on the inside. I then downloaded a panoramic view of a the sky and applied it to the inside of my semi-sphere. I used a target spot light and positioned it over my environment.

I then made the camera follow my character in as he walked up the stairs, then the camera zoomed up next to his head, I used the same key frame method as before. I then moved the camera from left to right to give the appearance of the character looking around.


